The first step in starting ERES, is to start the application server in which it's deployed. In this case, it means starting the Tomcat server that comes with the ERES installation. To start Tomcat, execute the startup.bat/.sh files in the /bin/ directory of your Tomcat installation. If you installed ERES on Windows, you can also start Tomcat from shortcuts in the Start Menu.
With Tomcat started successfully, you can then load the Start page for ERES. The Start page can be loaded from the following location:
http://<machinename>:<port>/ERES/index.jsp
Replace <machinename> with your server hostname or IP address, and replace port with the port you specified for Tomcat during installation. The default port is 8080. If you installed ERES on Windows, you can launch the Start page from the Start Menu.

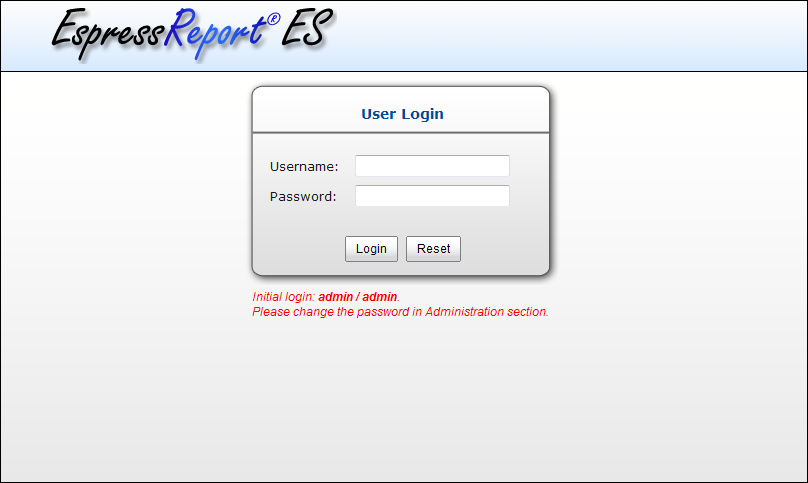
ERES Start Page - ERES Server is OFF
Before we start working with ERES, the ERES Server needs to be running. If the Autostart feature has been enabled during installation process (see Section 1.3.1 - Installing ERES for more details), the ERES Server should be running. If the server is off, turn it on by clicking on the button.
ERES Server Started
Now you need to first login before continuing.
With the server running, login as the system administrator. The default login for the administrator is username: admin, and password: admin. Once you have logged in, the Start page will show up.
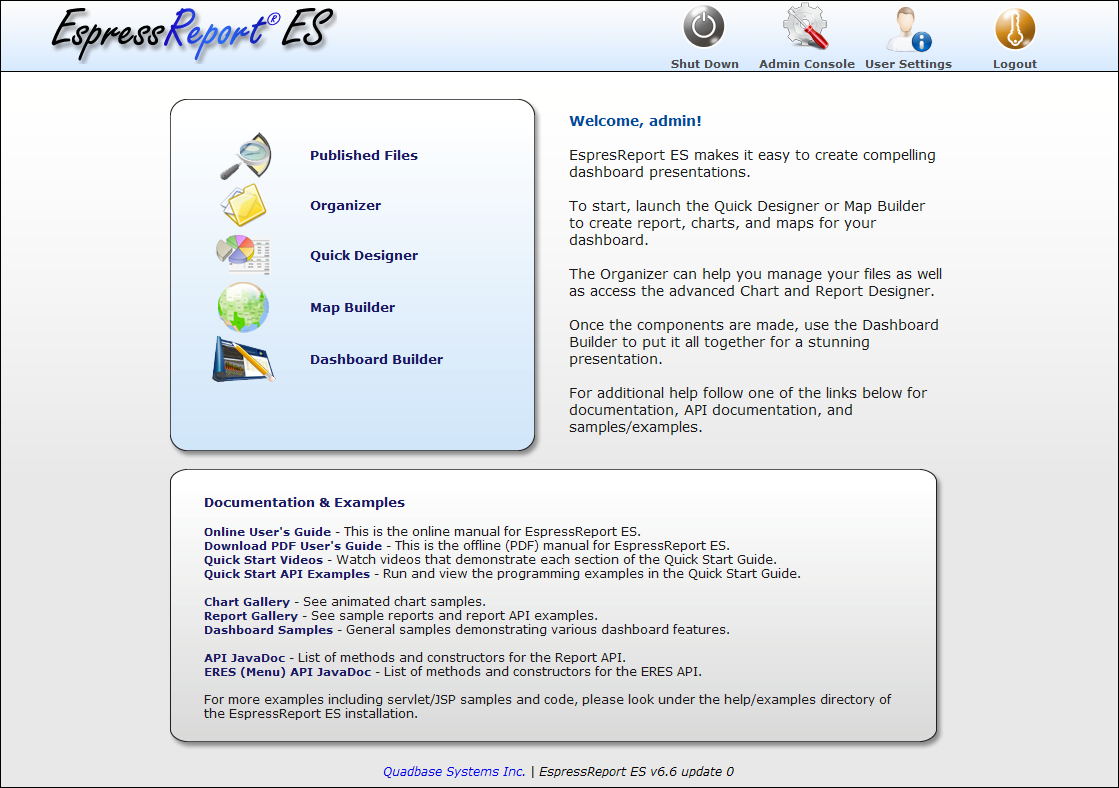
Admin logged into Start Page
To launch the Admin Console, click the button on the right-hand side of the Start page.
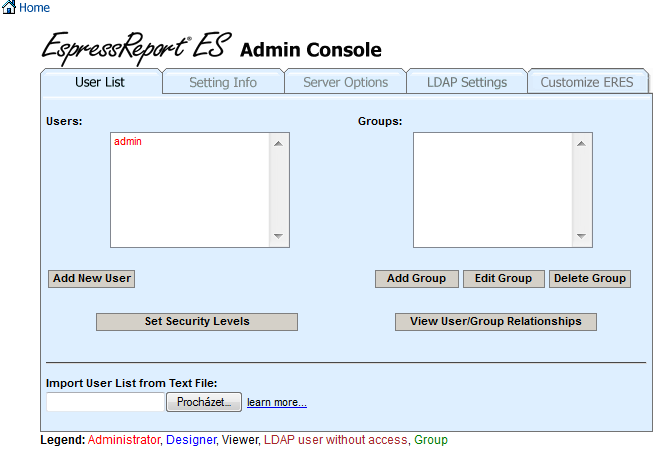
Admin Console
The Admin Console opens to the User List tab. By default, the administrator is the only defined user. To add a new user to the system, click the button. This will open a new window, allowing you to add information for the user.
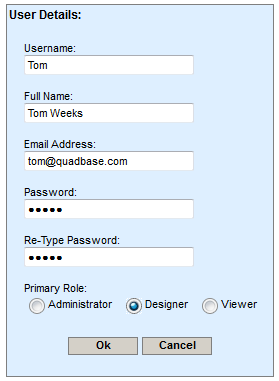
Add User Dialog
Enter details for this new user, making sure to assign Designer as the primary role. Please note that if you assign Viewer as the primary role, you will not have access to the core design/development tools, like Chart Designer, Report Designer, and Organizer. For more information about creating users, please visit Section 1.4.1.1 - User List
After you have finished, click . The dialog will close and the new user will be added to the user list in the Admin Console.
Now that you have entered the new user, return to Start page by clicking the icon in the upper left-hand side of the Admin Console.
With admin still logged in, click the link labeled in the Start page. This will open a pop-up window. Confirm ERES_Organizer.jnlp file open by Java Web Start Launcher. Then the Organizer will open.
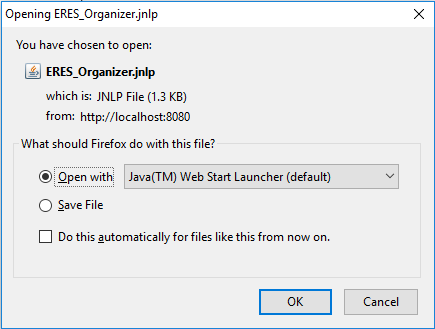
Opening Organizer
If you use Chrome as a browser, you have to save ERES_Organizer.jnlp at first, and then to open it from your download directory.You will see the next dialog. Click and Organizer will open.
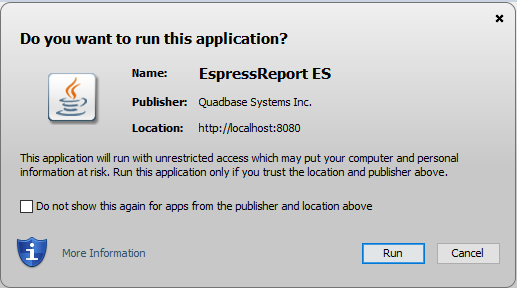
Opening Organizer in Chrome
Once Organizer is open you can see its main page:
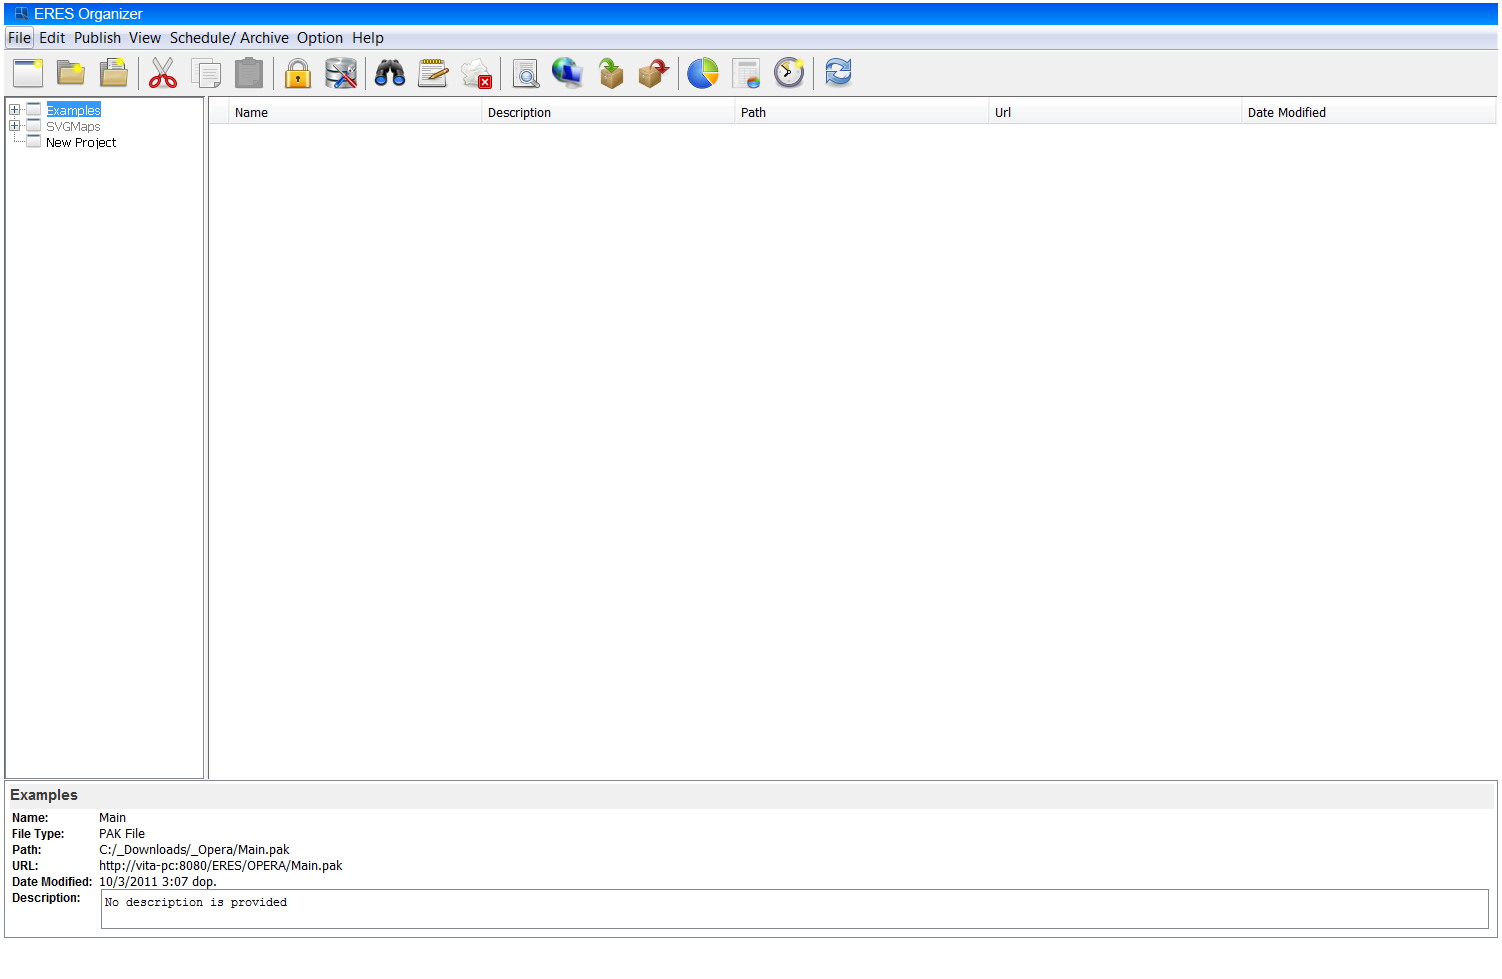
Organizer Interface
The Organizer is a virtual file management system that allows you to create, manage, publish, and schedule reports and charts. The Organizer is used in conjunction with most of the other interfaces in ERES, and will be referenced extensively throughout this guide.
Once the Organizer has finished loading, click the button ![]() . You will see a dialog box popped up. Highlight
. You will see a dialog box popped up. Highlight Sample.xml and click on the button on the lower right of the dialog box.
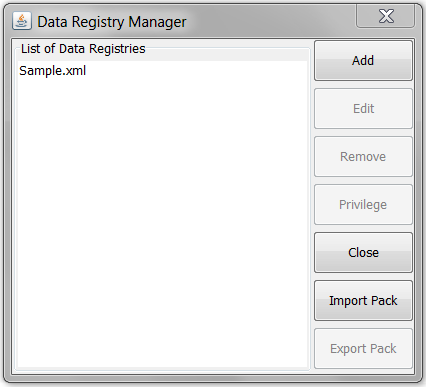
Data Registry List
A new dialog (Set Data Registry Permission) will show up. Click on . Next, click on the User tab in yet another dialog. Highlight the user name that you just added and click .
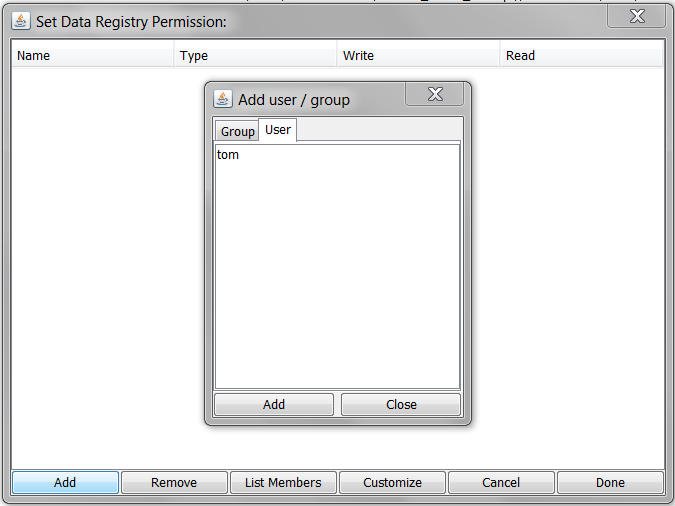
Add Data Registry Privilege
Then check the Write and Read checkboxes in the Set Data Registry Permission dialog. Click the button to close the dialog.
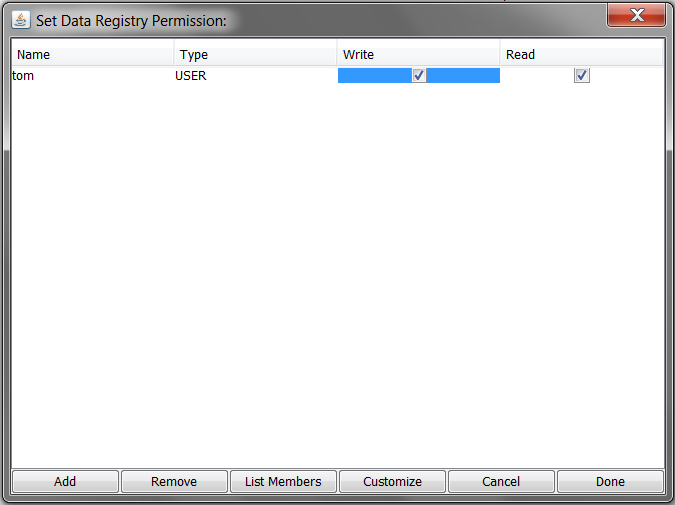
Data Registry Read Write Privilege
We are done with the administration activities, so you should log in as the designer user. Close the Organizer and go back to the Start page by clicking the icon in the upper left-hand side of the Organizer JSP page. In the Start page, click the button. This will log the administrator out of the system.
Now log in again using the user that you created in Section Q.2.1 - Create a User. After you login, notice that the administration functions are not available. Click in the panel on the left to open the Organizer.
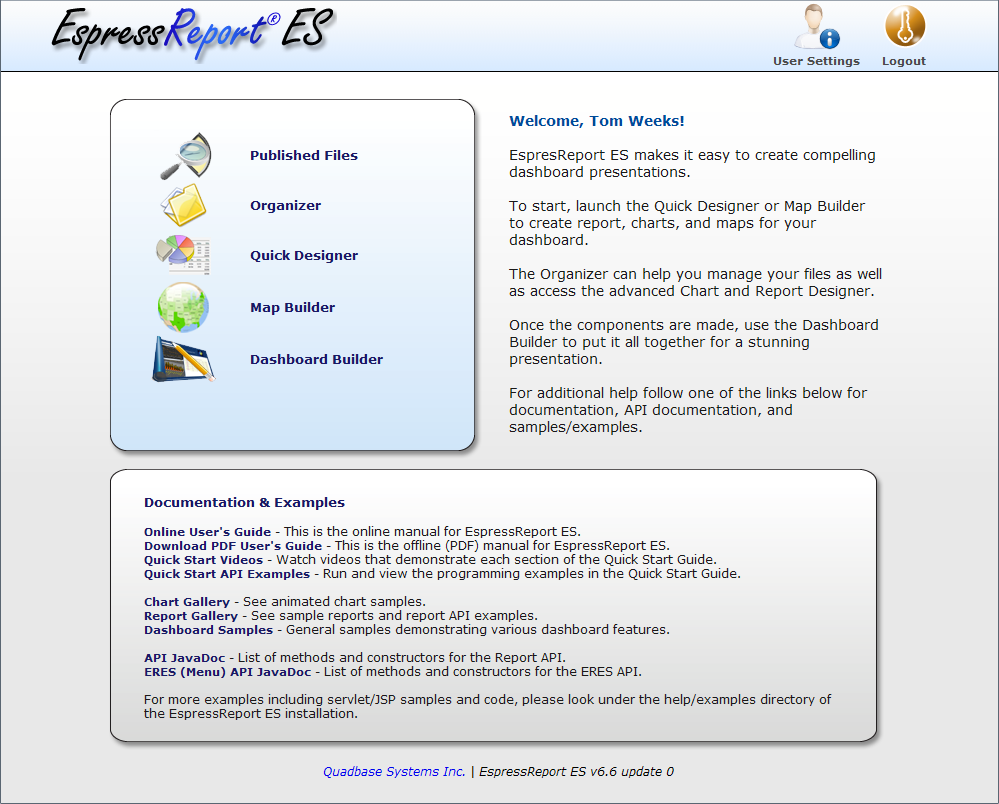
User Logged into Start page
Reports and charts in the Organizer are grouped into projects and folders. Here we are going to create a new project in which to add the reports and charts used in later sections of this guide. To add a new project, click the button on the toolbar ![]() . A new node will be added with the name new project or new project(1) if a node of that name already exists.
. A new node will be added with the name new project or new project(1) if a node of that name already exists.
To edit the new project, right click on the new node and select Edit from the pop-up menu. This will bring up a dialog allowing you to re-name the project and to specify a description.

Edit Project Dialog
Specify a new name and description for the project and click . The changes will be applied. When you select the project in Organizer, you will see the description in the lower right-hand frame.